
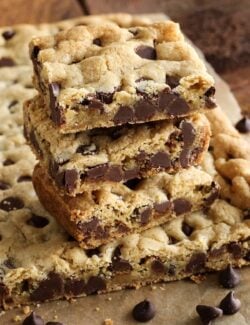
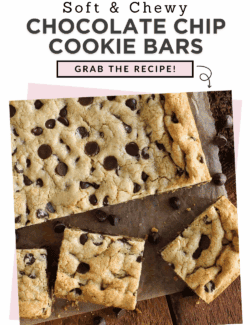
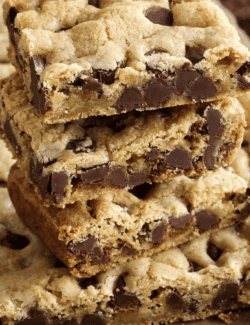
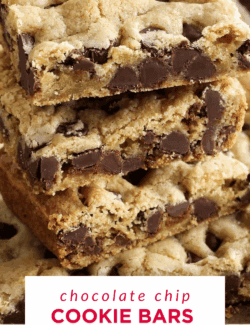
This foolproof recipe has everything you love about your favorite homemade chocolate chip cookies, but baked in a 9×13 pan and no mixer or chilling of the dough needed! An extra egg yolk and brown sugar leads to their soft and chewy texture, and each bite is full of rich butter flavor and loaded with chocolate chips. Whenever I show up with this treat at a potluck or family gathering, these bars are the first thing to disappear!
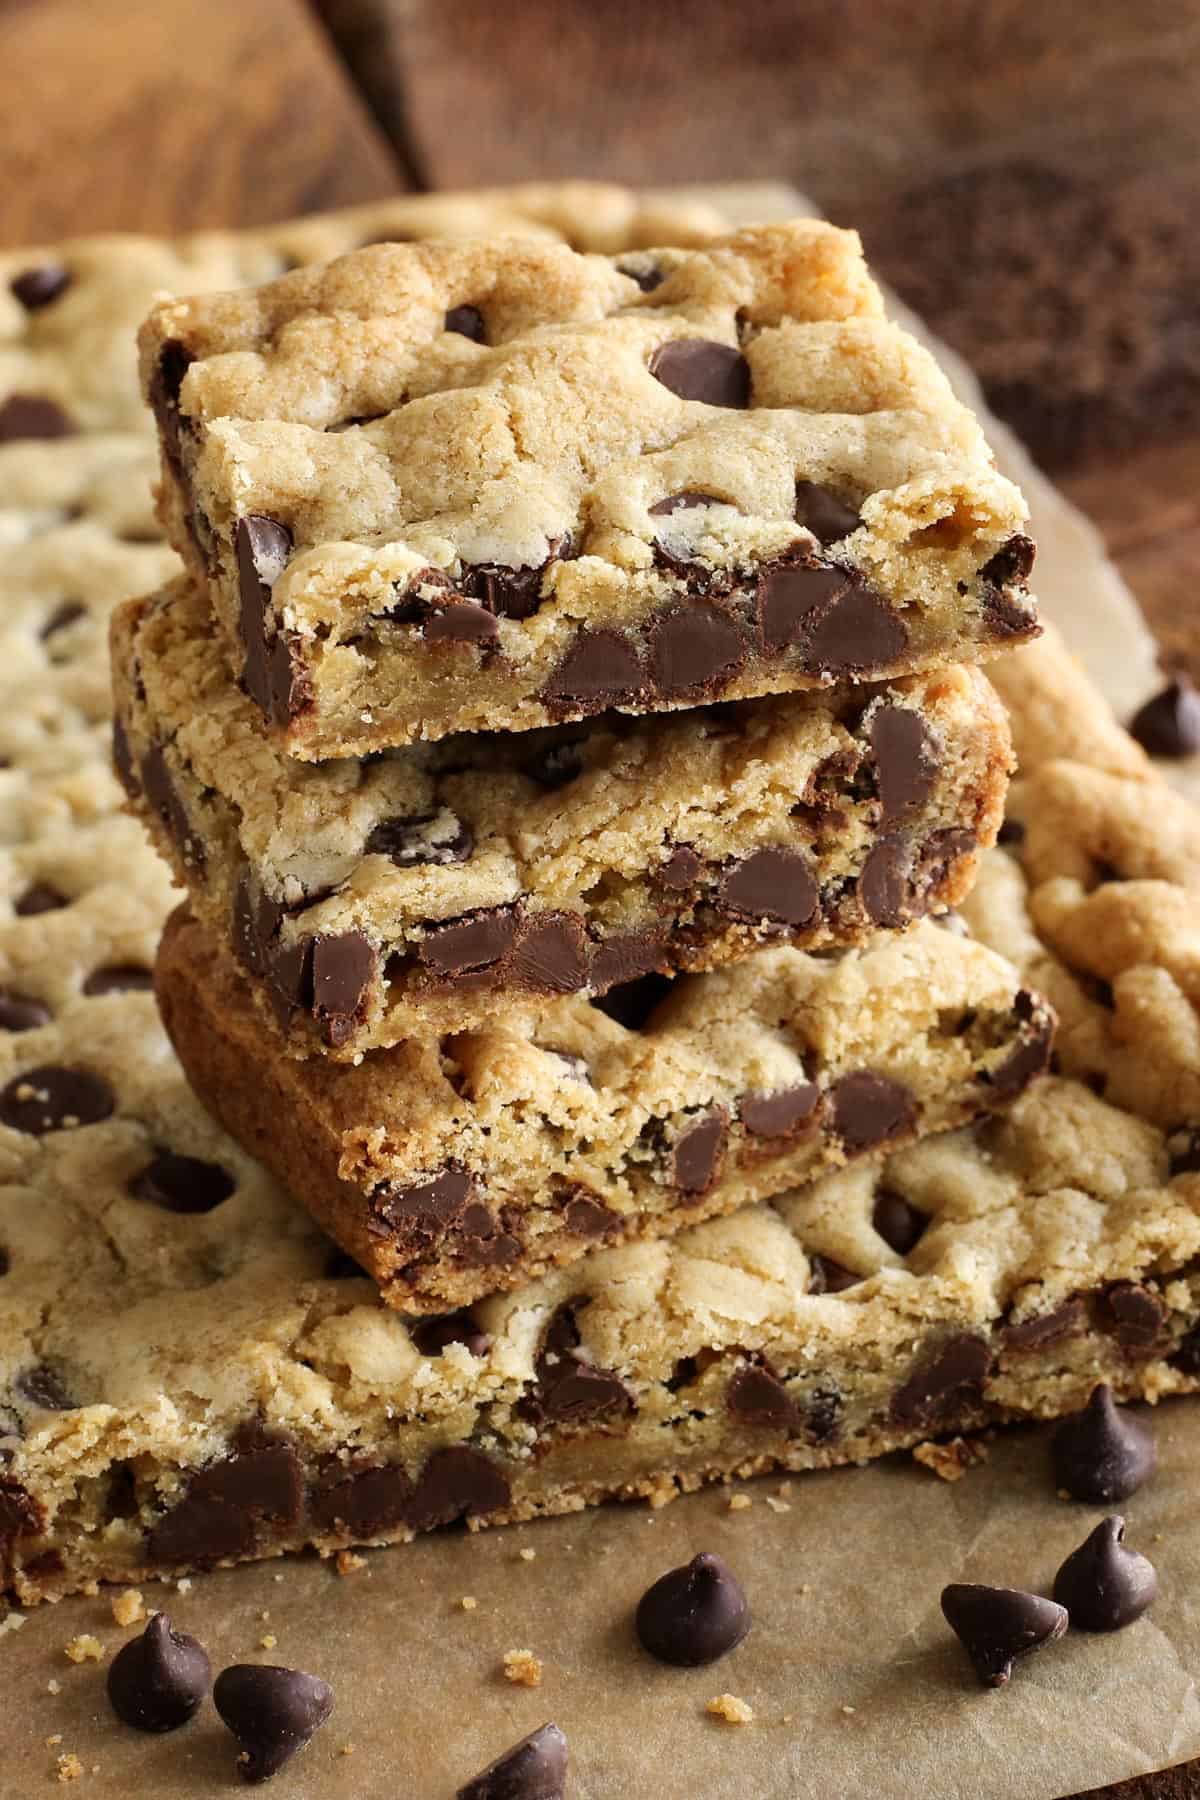
My Family’s Chocolate Chip Cookie Dream-Come-True. In One pan!

There’s nothing like a warm-from-the-oven, soft and chewy homemade chocolate chip cookie. For me, just the thought of it brings a flood of memories — of baking cookies with Mom and my sisters on the farm, and sharing them with family and friends. Mom was never without some CCC’s stashed away in the big chest freezer. And my friends were well aware of that fact, with regular requests for “Barb’s chocolate chip cookies”.
Well, fast-forward a few decades and having a family of my own. Life got real full, real fast.
So my goal became this: a bars recipe that is quicker, easier, and 1000% reliable, with rich butter flavor and soft, chewy texture. Isn’t that just so “Midwest” of me? I adore bars recipes!
The secret to this recipe’s craveworthy success is in the combination of melted butter, an extra egg yolk, and more brown sugar than white sugar (I will never, ever make a chocolate chip cookie that does not include the moistness and deeper molasses flavor of brown sugar!).
Each one of these ingredients unlocks its own individual moist qualities, and when combined with the classic ingredients of a truly great chocolate chip cookie — to include really good chocolate (Guittard semi-sweet chocolate chips are my favorite) — this recipe is a soft and chewy force to be reckoned with.
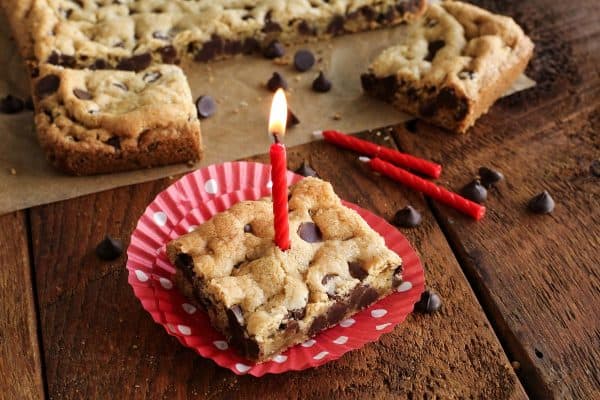
These bars have now become my own family’s go-to. Our oldest daughter Hatti even requested this to be her “birthday cake” one year instead of my mom’s ultimate fudgy brownies, her other favorite. She’s awesome like that, not concerned about following the any birthday cake rules, only asking for what she wants!

“I’ve made these several times now and they are excellent, just excellent! They are a hit with everyone! Easy and over-the-top good!”
—Melody
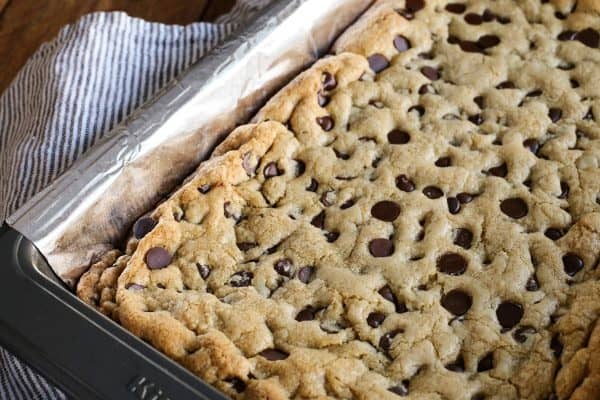
baking soda is key to the chewy texture
Yes, this is a common baking ingredient, but I love what it does to these bars! You see, when baking soda mixes with brown sugar (which has acid from the molasses), it releases little bursts of carbon dioxide gas (our youngest daughter Tessa would appreciate this little bit of nerdy science as she’s currently in year 2 of her bio-chem degree). This causes the pan of bars to puff up slightly while it’s baking, then sink a bit as it cools. Which is GOOD – this helps to give you that incredible dense, chewy center.
OH, AND ONE LAST THING: DO NOT OVER-BAKE!
Yes, that’s my yelling voice! If your goal is to have the softest, chewiest chocolate chip cookie bars on the planet, it’s VERY IMPORTANT to not over-bake. I’d even go so far as to say, for the ultimate soft bars, slightly under-bake them!
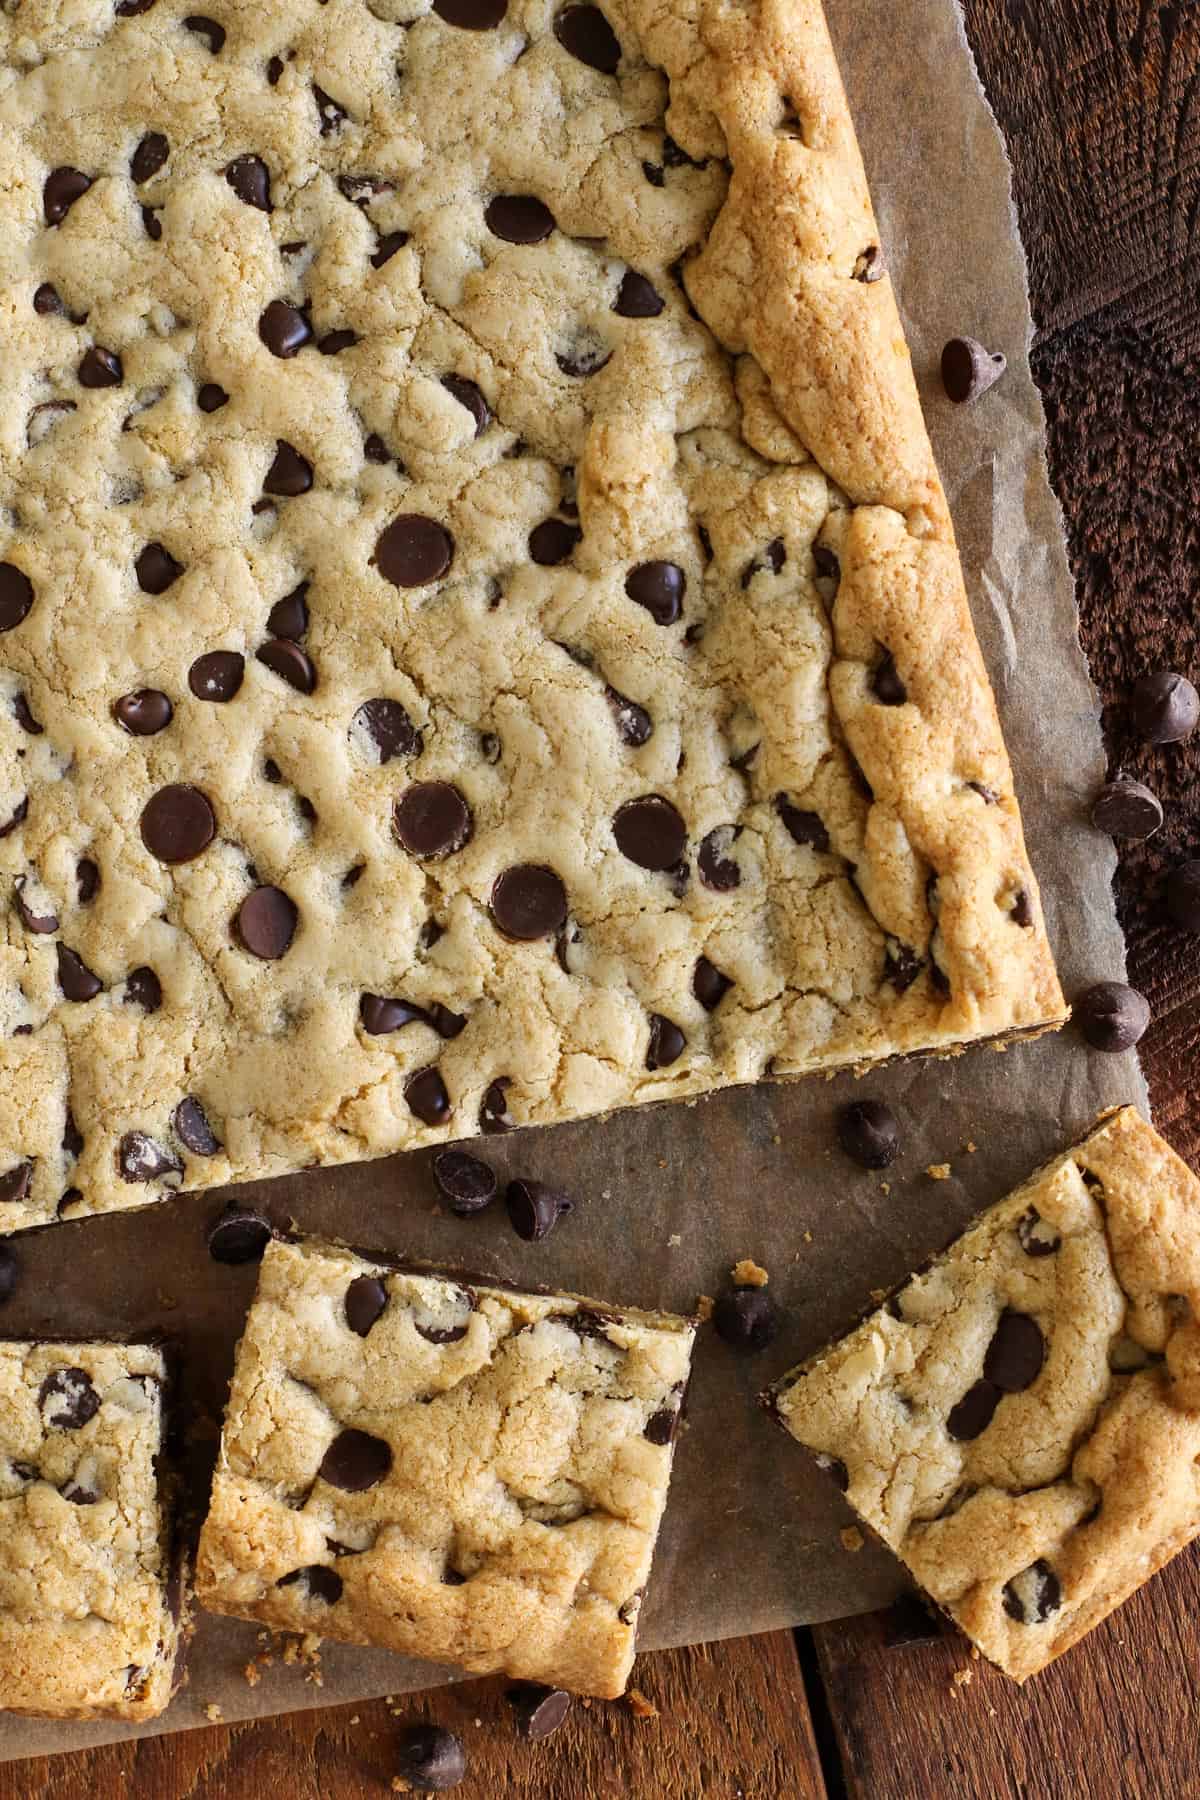
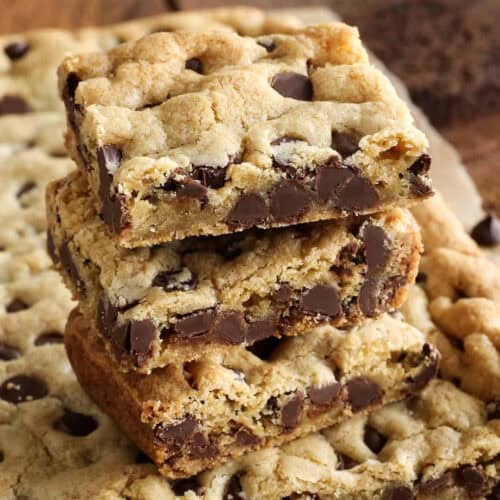
Chewy Chocolate Chip Cookie Bars (no mixer!)
Ingredients
- 2 cups + 2 tablespoons all-purpose flour
- ½ teaspoon Morton kosher salt
- ½ teaspoon baking soda
- 12 tablespoons unsalted butter, gently melted and then cooled to room temperature
- 1 cup packed light brown sugar
- ½ cup sugar
- 1 large egg
- 1 large egg yolk
- 2 teaspoons pure vanilla extract
- 2 cups semi-sweet chocolate chips, plus a bit more for sprinkling over the top of the dough (I recommend Guittard semisweet chocolate chips)
- sea salt flakes, optional for sprinkling over the top (I recommend Maldon Sea Salt Flakes)
Instructions
- Adjust oven rack to lower-middle position. Preheat oven to 325°F. Lightly spray a 9" x 13" metal baking pan with non-stick spray. For super clean cuts, see Notes below.
- In a medium bowl, whisk together flour, salt, and baking soda; set aside.
- In a large bowl, whisk together melted butter, brown sugar, and sugar until combined. Add egg, egg yolk, and vanilla, and whisk until well combined.
- With a rubber spatula, fold dry ingredients into the wet ingredients. When about half-way combined, add chocolate chips and continue to fold until just combined. Do not over-mix.
- Transfer dough to prepared pan. Dough will be thick and sticky. Press evenly into pan using a spatula and/or your fingertips. See Notes below for more pressing tips.
- If desired, sprinkle a few more chocolate chips over the top, pressing them in a bit. It's also fun to sprinkle M&M's over the top – the mini M&M's are our first choice!
- Bake for about 23 minutes or so, or until top is light golden brown and slightly firm to the touch. For the chewiest bars, do not over-bake. I even recommend to slightly under-bake!
- Remove pan to wire cooling rack. Optional: Sprinkle some sea salt flakes over the top IMMEDIATELY (so they stick) after the pan comes out of the oven.
- Let cool to room temperature and then cut into individual bars.
Notes
- Other chocolate. Try milk chocolate, dark chocolate, or white chocolate chips — or a combination. Or chop up your favorite dark chocolate bar for a more indulgent adultified treat.
- Candies. Our daughters like to sprinkle mini M&M’s over the top.
- Nuts. Throw in some chopped walnuts or pecans for some nutty crunch. I recommend using roasted, salted nuts for the best flavor and texture.
- Counter – To preserve the soft texture, leave the cooled bars in the pan, covered tightly, and store them on the counter for up to 3 days.
- Fridge – Store the bars in the pan, covered tightly, in the fridge for up to 5 days.
- Freezer – Place bars in an airtight, freezer-safe container, then store in the freezer for up to 3 months. Thaw the bars in the fridge before serving.
Nutrition Information:

For the memory book: This photo was taken while staying with my sister’s family in Florida in 2019, when we celebrated our daughter Hatti’s and my dad’s shared birthday with – yes, you guessed it – these chewy chocolate chip cookie bars!

Where is your Print button? If it’s on your site, I couldn’t find it.
Hi Barbara – it’s in the recipe card, directly below the photo. A rectangle that says “Print”. Enjoy the bars!
Hi Brenda,
I am planning on making these for a bake sale at my school and I was wondering if I could pre-make the dough two days ahead of time and then bake them on the day of the sale.
Just made these…reallr moist! I will freeze half because there are only the two of us. But for those who will be keeping for several days, lay a slice of bread in container it will help to keep them just baked moist, works for cookies too!
So glad you liked! Thanks for the tip. :)
I was wondering if anyone has made a double batch of these & put it in a jelly roll pan (13 x 18)? Would making a double batch be to much for this size pan?
Thanks,
Judy
Wondering the same thing. I want to make these for about 30 kids and a 9×13 will not cut it.
Hi Sarah – please read my comment to Judy. :)
Just made them today. The whole family is in love
Hello Judy – I just experimented with this. I doubled the recipe and baked it in a 13 x 18 pan with 1″ sides. There is alot of thick dough when you’re mixing at the end, but it works great. I baked mine for 30 minutes and think they’re perfectly done. I made them last night, and of course we had to eat a couple warm. :) Now I’m cutting up the rest to take to our daughter’s volleyball tourney. And as I’m cutting through the entire pan, it’s all baked perfectly – soft and chewy and delicious!
These are delicious! Due to the egg allergy of a party guest, I used flax/ water combo as an egg substitute. Still perfect.
Hi Mandy – thank you for coming back. I love to know you made this work for your guest!
Came across this recipe from a google search and decided to give it a try as I was raised a SD girl too! They are the BEST pan cookies EVER. Buttery yumminess and the perfect amount of chocolate chips. So easy to make; I will never make another regular chocolate cookie again.
YAY!!! I’m so glad you agree. :)
These are amazing! Can’t keep a batch more than a day!
I tried to make these, using the correct pan size and following the recipe as written, and they’re still raw after 30 minutes. What am I doing wrong?
We always use a metal 9″ x 13″ pan. Are you using a different kind of pan?
Turned out great- so yummy! I used salted butter and needed to cook quite a bit longer with my oven. Thanks for the great recipe!
These turned out great….nice brown color moist and chocolatey!
So glad to hear this. Thanks, Heather!
I just made these! Haven’t had a chance to cut into them yet but I’m excited! I was a little worried about the dough since it wasn’t quite the same as other cookie dough. Seemed dry and hard to mix in the chocolate chips. But coming out of the oven it looks like your picture so.. fingers crossed!!!
Oh wow! So good! They are super chocolaty and so soft!
Yay! So glad you like these CCC bars!!
Why does it call for 1 large egg and 1 large egg yolk?
Hi Ashley – yolks add more richness, moisture, and flavor.
Do these bars stay soft for a while or do they harden?
Hi Morgan – the bars are best/softest/chewiest during that first 24 hours after baking. They’ll still be soft after that, but do get a bit drier as time goes on. But they never last long around here!
Best recipe for Chocolate Chip anything I have ever made. Is chewy from the time they come out till whenever you finish them. Every time I make them everyone ask for the recipe. Great combo of sweet with a hint of salt. I actually use salted butter and it makes them better! My go to recipe!!!
I LOVE to hear this, Beth! Thanks for coming back to let me know. :)
I am so looking forward to trying it out tomorrowI am wondering if I can use 14 x 11 inch pan instead and it is 2 inches high? Or would it turn out too thin? Would a 9 by 13 be better? If you can let me know please? If it is a nonstick pan do I still need to put foil and spray the foil?
Thank you so much
Hi Miriam – A 14 x 11 would definitely make a thinner bar. I haven’t tried that size – if you do, this will take less time to bake. With a 9 x 13 pan, you will get the same thickness as what you see in my photos – that’s what I use. You do not need to use foil and nonstick spray – only if you want those super clean cuts, so you can lift it out of the pan to cut. I also recommend a metal pan for best results.
THANK You for the recipe! Theae are easy and delicious!
Yay! So glad you like! :)
I clearly messed something up somewhere because I had to cook these almost double the time. They were completely wet after 30 min , turned heat up to 350 and cooked another 10 min.
You’re not alone! I had the exact same problem. They came out raw following the specified directions.
Did you use the correct size pan? I just made them and they were perfectly done in 25 minutes.
I had the same problem, as well. I cooked them in a glass pan, not metal, so maybe that is the difference. I had to cook mine 40ish minutes, but they were PERFECT.
Hi!! These look delicious! I am going to make them for a potluck, how are they the next day? May want to make them in advance. Thank you!!
Hi! These look delicious! I am going to make them for a potluck, how are they the next day? May want to make them in advance. Thank you!!
Great bars!!! Loved them down to the last bar!!!
Tried these on a whim. They are so delicious. The recipe is on point. Thank you so much!
I’m so glad you liked these CCC bars! Thanks for coming back to let me know. :)